Showing posts with label Hey that's Pin-tastic. Show all posts

Monday, December 17, 2012

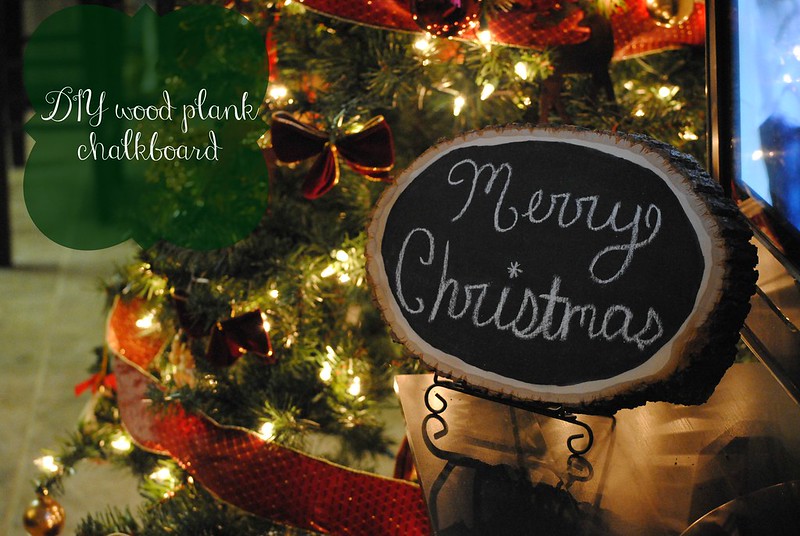
Hey, That's Pintastic: DIY wood plank chalkboard

****Before I can even begin, I have to say how unbelievably heartbroken I am over the tragedy in Newton, CT. I actually had the computer pulled up to blog when I turned the TV on Friday afternoon and saw what had happened.. I then continued to sit there and just cry. I cannot imagine what those families are going through and am praying for a peace that surpasses all understanding. ****

It's Monday, which means I am linking up with AP @ I Love You More Than Carrots for

i love you more than carrots

and I am also linking up at a -new to me- blog hop here!! 


A few weeks ago I came across this idea on one of the amazing blogs I read, eighteen25. I immediately thought of my brother in law and sister in law and pinned it to my secret board (PS: Raise your hand if you love the secret boards!!!) so I could make it for them for Christmas. 

wood plank chalkboard

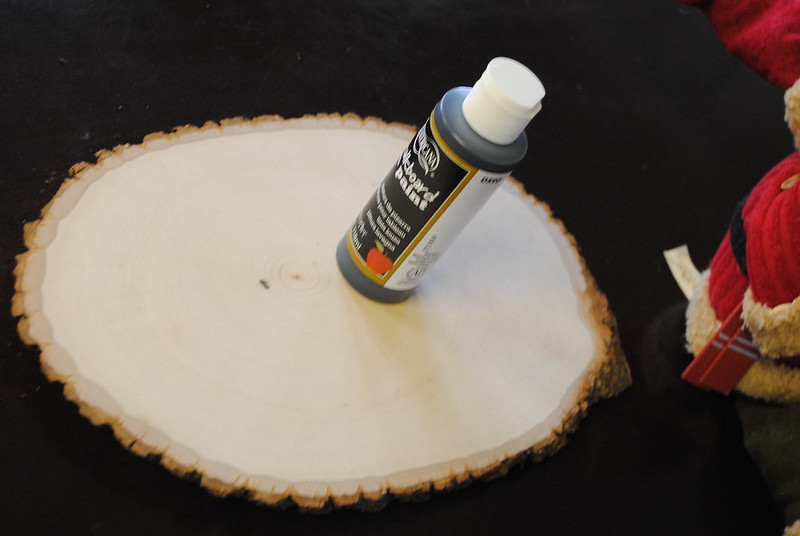
I'm pretty sure you could look at it and see that there is no tutorial needed. You can buy the planks at Hobby Lobby. They have a few different sizes and shapes, too! Go ahead and pick up some chalkboard paint while you are there if you don't have some already. 

DSC_0555

Just follow the directions on the back of the bottle and voila! You have yourself a cute chalkboard! It obviously didn't take much paint and now I am itching to use it on something else. What is something you have used chalkboard paint on?? Do share!


Monday, December 10, 2012

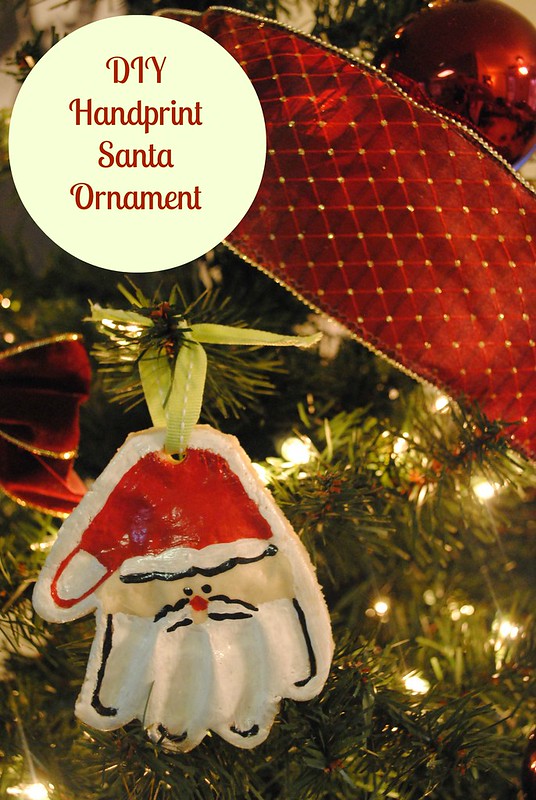
Hey! That's Pin-tastic: DIY Handprint Santa Ornament

Holy Moly, how is it already December 10th?!?! Our little family, like everyone else's it seems, has passed sickness from person to person for what seems like the past 2 months. Cade was sick during Thanksgiving, I was sick last week. Matt got it Saturday and then Connor got it yesterday. I am praying this means we will all be healthy for Christmas! DIY bubble suit, anyone??? 

Of course, none of that has stopped me from putting together a little Christmas craft. 'Tis the season and all! Linking up again with AP @ I Love You More Than Carrots for

i love you more than carrots


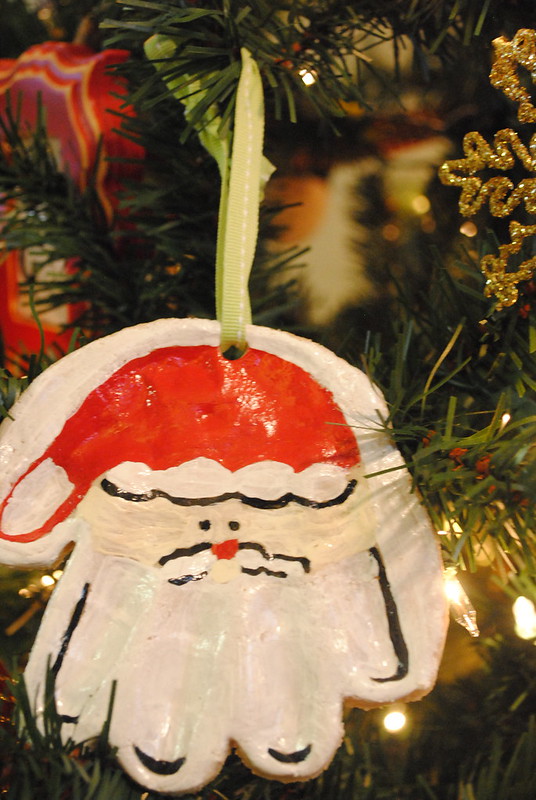
I have heard so many people talk about making ornaments using the salt dough recipe, so I decided to give it a try. In true typical Kelli fashion, I messed up the first time around and wouldn't you know the dough was PERFECT. Instead of leaving the dough intact between the fingers, I cut around the whole finger and it resembled more of an octopus with a santa hat on than an actual santa! 

Santa ornament

   In true typical Kelli fashion, I messed up the first time around and wouldn't you know the dough was PERFECT. Instead of leaving the dough intact between the fingers, I cut around the whole finger and it resembled more of an octopus with a santa hat on than an actual santa! So, I did it again and I didn't knead it long enough and the handprints didn't turn out as obvious the second time around. 
DSC_0646
I actually painted the face on this one, but didn't on Cade's. I like it so much better without the paint, but you live and you learn!!


Salt dough recipe for 2 small handprints:
***about 3/4 cup of flour (maybe a little less. If you mix this all together and it is too wet, add a tiny bit of flour a little at a time)
***a little less than 1/4 cup of salt
***1/4 cup of water
Mix together and knead for 15 to 20 minutes. (I didn't do that the 2nd time around, and I think that made the difference in the quality of the prints.) 
Spray a cookie sheet thoroughly and roll your dough into two small circles. Place their hands on the top, pressing down firmly to make the imprint. Then, while still on the pan, cut around the print with a butter knife.  The less handling, the better! Use a straw to cut the hole at the top for the ribbon. You can use a toothpick to try to fix any imperfections and smooth out the edges.  Bake at 300 for 20 minutes or so until a little golden. 

I just used the small bottles of acrylic paint with some small brushes I had. The brushes were cheap and I think it would look better if I had some better ones. Once dried, I put a thin coat of polyurethane over it to protect the paint. 


DSC_0644

When I messed up the first batch, I tried to break them apart to see how easily they could be broken. They actually were a lot more durable than I thought! While they did crack at the surface, it was going to take a lot to actually break it apart. They obviously don't look near as good as they would if they were ceramic, but they were much cheaper and Connor had fun helping me! That's always a win in my book!

Monday, December 3, 2012

Hey, That's Pintastic: DIY Christmas Decor

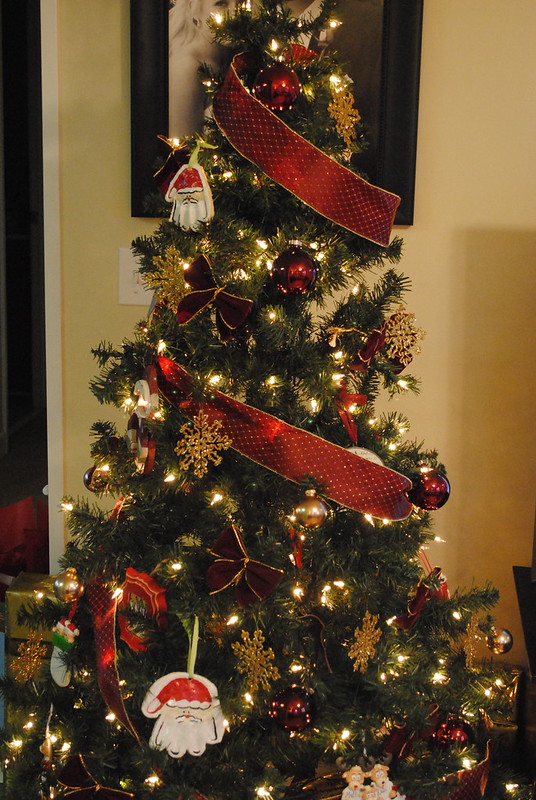
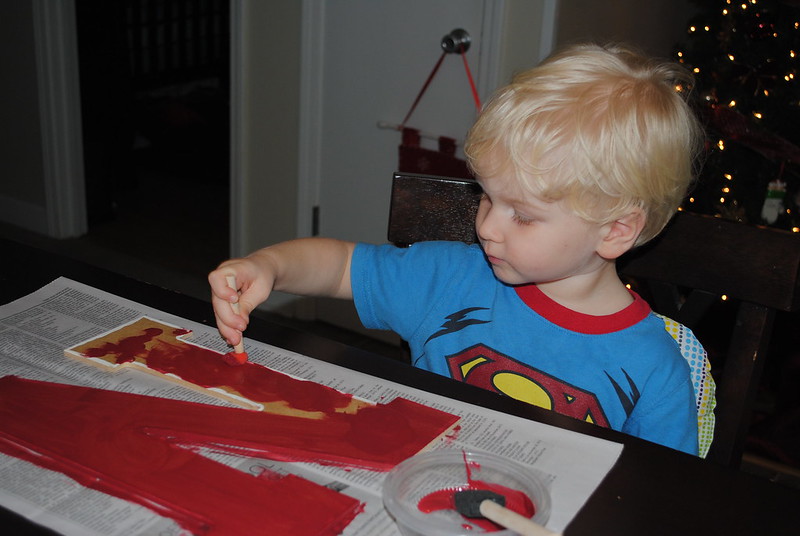
One of my favorite Pinterest boards to look at and try to recreate is my Christmas board. Almost every single pin I have is to be used for inspiration (or to just straight re create..who am I kidding) and I have finally started doing some of them! 

I have had the same Christmas decorations since 2005, so I'd say it's about time for some new ones don't ya think?! As much as I would love to just be able to go out and buy some new decor, it just isn't at the top of the priority list. So, until then, we will make our own! Plus, I wouldn't get to have a cute little helper if I bought them. 
DSC_0571

He had so much fun helping me and even told me "I love you, Mommy" in the middle of it. Goodness, he makes me melt! 
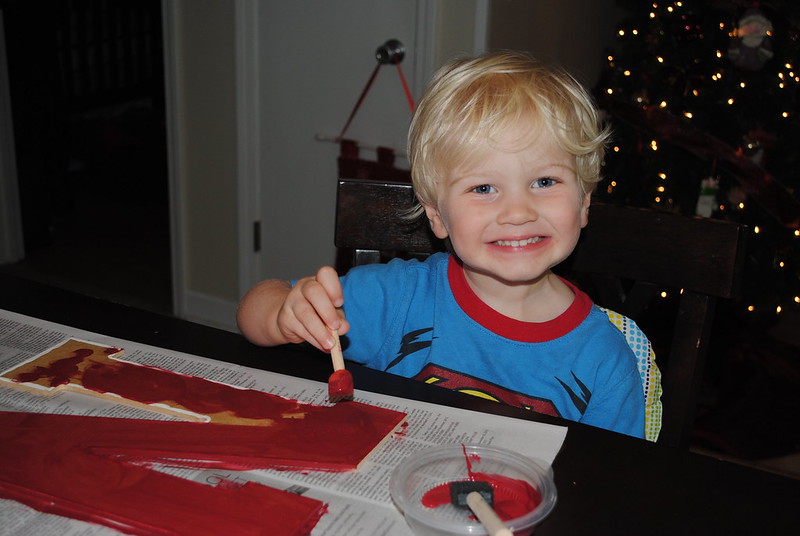
DSC_0573
HELP! We have entered the stage of extreme fake smiling!


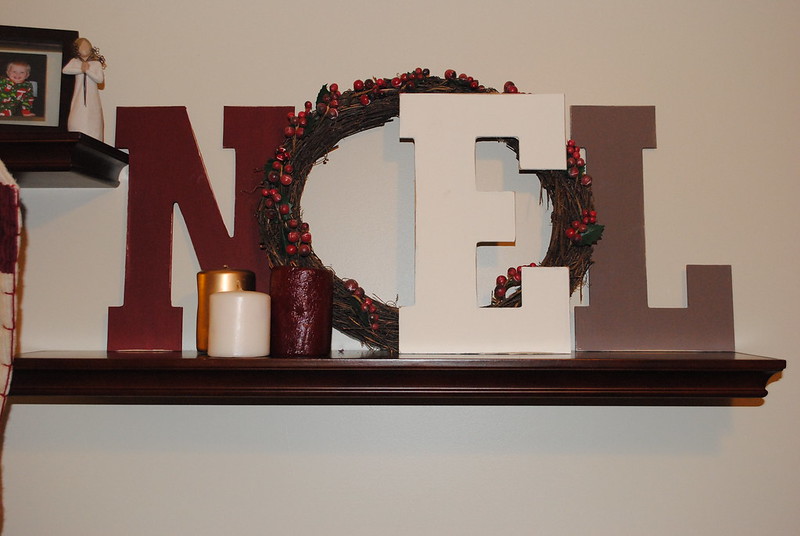
Final product: 

DSC_0582

The only things I had to get for the project were the letters and the paint for them. I already had the wreaths and the old berries. I'm not totally set on the berries, but it's all I had on hand. (what are the odds that I actually change them? Not very good, I'd say!) It's hard to tell, but I also took some sandpaper to the sides of the letters to give it little more vintage look. Connor was pretty excited when I was putting them up telling Matt that he had helped me. If anything, that is reason alone to keep it up there! 


Linking up with AP @ I Love You More Than Carrots for 


Monday, November 12, 2012

Hey, That's Pintastic: DIY Turkey shirt/onesie

Why, hello Monday. It's time to join in with AP @ I Love You More Than Carrots for 
Since I didn't plan on being here this weekend, I originally didn't think I was going to participate this week. Which meant I had nothing planned. Yes, I could have talked about the yummy recipes I used last week, and trust me I used some good ones. But 1) I didn't take any pictures of them (goodness, I do good just to get the food halfway to the table. More often than not my superhero hubs has to finish) 2) I wanted to actually do something. Something that I wasn't already planning on doing. So in true Kelli fashion these days, I browsed through my pins Saturday morning to see what I could conquer in a somewhat quick fashion. I cam across *this pin that had been pinned who knows how long ago. With that, it was decided. Off to Joann's I went. After coming thisclose to giving up on finding fabric (seriously, do you know how hard it is to find fabric for boys that isn't camo or have some kind of sports ball on it???), I finally settled on something. I say settled, because I would have LOVED to have all 6 feathers of the turkey in Chevron, but I worked with what I could find!


So, after getting all the materials together: Brown fabric for turkey body, orange fabric for beak, white and black fabric for eyes and 6 different fabric swatches of your choice for feathers, I made myself a pattern (NOTE: VERY IMPORTANT. MAKE A PATTERN!! THERE IS A LOT OF CUTTING INVOLVED) out of a piece of cardstock. I then traced each piece onto the coordinating fabric. I just used a pencil. Really fancy, I know. After you have all your pieces cut out, go around the edges of each piece with fray check. You will need somewhere to place the pieces on to let them dry.

While they are drying, take your patterns and cut out the shapes on the Heat N Bond. This is what makes your turkey (or whatever you are making) stick to the shirt.

NOW, I forgot this next step and highly recommend not forgetting it. Usually, I will take a needle and thread and go around the edges of all my pieces to give it more of a finished sewing machine look. Of course, it looks nowhere near as good as an actual sewing machine, but we are only human ;). Since I forgot to do this at this point, I did it after I had already adhered it to the shirt. My fingers took the brunt of that bad mistake!

Next, you will iron the heat n bond onto each piece. The instructions are on the packaging. After you have done that, trim off the edges. I would actually recommend doing that before you iron it on there to begin with because otherwise you will get the sticky residue on your iron, which will then get on your applique. Awesome.

see that extra piece on the *your* left edge? Trim that off.

Before you peel off the back paper and iron it onto your shirt for forever and ever amen, be sure to lay it out and figure out which pieces to do first. In this case, I started with the orange chevron feather, went all around layering each one on top of the one before followed by the turkey body, nose and eyes.


Unlike me, if you had already sewn around the edges of your turkey pieces, you would be done! Instead, I got to sit here for 2 hours tonight trying to push a needle through all those layers! In fact, I only finished Connor's shirt. I'll finish Cade's when I can no longer see the dents in my fingers from the top of the needle! HA!


Those darker stripes on the turkey you see? That is the aforementioned sticky residue! 


So, of course, it isn't perfect. The chevron fabric worked so much better than the solid colored fabric, which is funny since it is all 100% cotton. The beauty of this is you can use whatever fabric your heart desires!

*So, I figured out that the pin I found was actually linked to an etsy shop that is on vacation. Hers is, ahem, much cuter which is probably why she sells them! 


LinkWithin

Related Posts Plugin for WordPress, Blogger...