
Holy Moly, how is it already December 10th?!?! Our little family, like everyone else's it seems, has passed sickness from person to person for what seems like the past 2 months. Cade was sick during Thanksgiving, I was sick last week. Matt got it Saturday and then Connor got it yesterday. I am praying this means we will all be healthy for Christmas! DIY bubble suit, anyone???
Of course, none of that has stopped me from putting together a little Christmas craft. 'Tis the season and all! Linking up again with AP @ I Love You More Than Carrots for

I have heard so many people talk about making ornaments using the salt dough recipe, so I decided to give it a try. In true typical Kelli fashion, I messed up the first time around and wouldn't you know the dough was PERFECT. Instead of leaving the dough intact between the fingers, I cut around the whole finger and it resembled more of an octopus with a santa hat on than an actual santa!
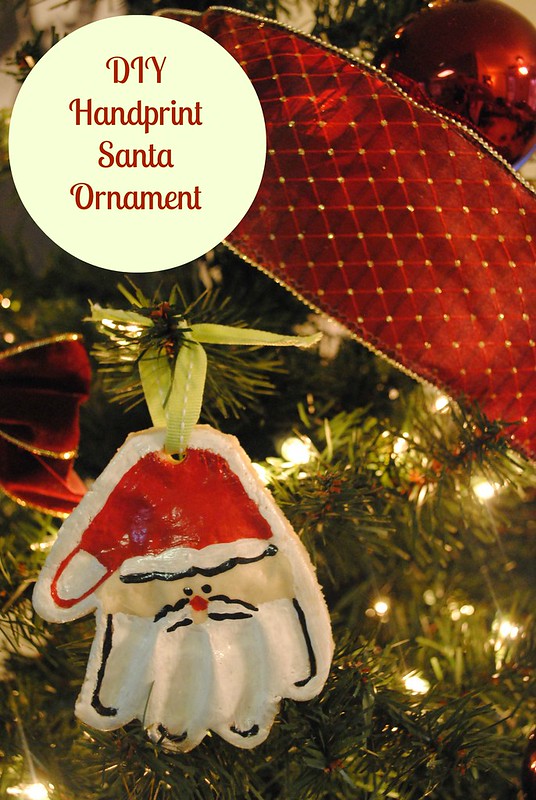
In true typical Kelli fashion, I messed up the first time around and wouldn't you know the dough was PERFECT. Instead of leaving the dough intact between the fingers, I cut around the whole finger and it resembled more of an octopus with a santa hat on than an actual santa! So, I did it again and I didn't knead it long enough and the handprints didn't turn out as obvious the second time around.
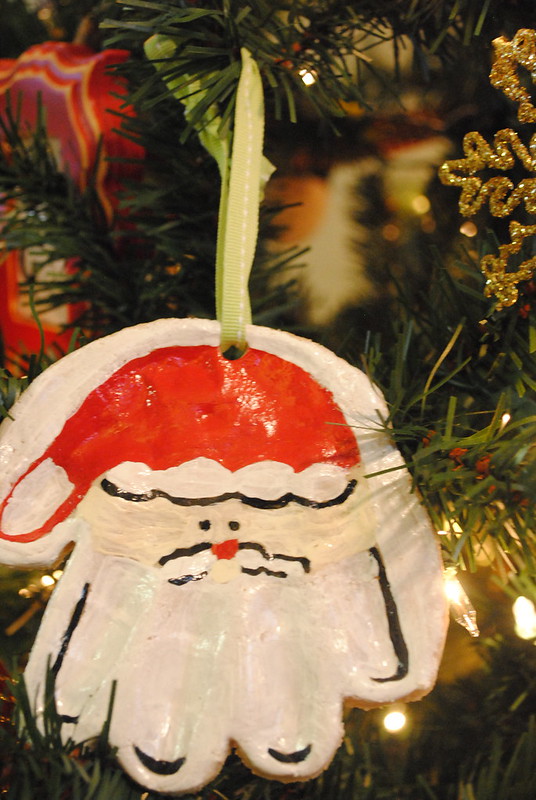 |
| I actually painted the face on this one, but didn't on Cade's. I like it so much better without the paint, but you live and you learn!! |
Salt dough recipe for 2 small handprints:
***about 3/4 cup of flour (maybe a little less. If you mix this all together and it is too wet, add a tiny bit of flour a little at a time)
***a little less than 1/4 cup of salt
***1/4 cup of water
Mix together and knead for 15 to 20 minutes. (I didn't do that the 2nd time around, and I think that made the difference in the quality of the prints.)
Spray a cookie sheet thoroughly and roll your dough into two small circles. Place their hands on the top, pressing down firmly to make the imprint. Then, while still on the pan, cut around the print with a butter knife. The less handling, the better! Use a straw to cut the hole at the top for the ribbon. You can use a toothpick to try to fix any imperfections and smooth out the edges. Bake at 300 for 20 minutes or so until a little golden.
I just used the small bottles of acrylic paint with some small brushes I had. The brushes were cheap and I think it would look better if I had some better ones. Once dried, I put a thin coat of polyurethane over it to protect the paint.
When I messed up the first batch, I tried to break them apart to see how easily they could be broken. They actually were a lot more durable than I thought! While they did crack at the surface, it was going to take a lot to actually break it apart. They obviously don't look near as good as they would if they were ceramic, but they were much cheaper and Connor had fun helping me! That's always a win in my book!
1 comment:
Good to know they aren't too breakable!
Such a cute project :)
Post a Comment